Posted on

What Size Stump Grinder Do I Need?

Garden Stump in need of Grinding

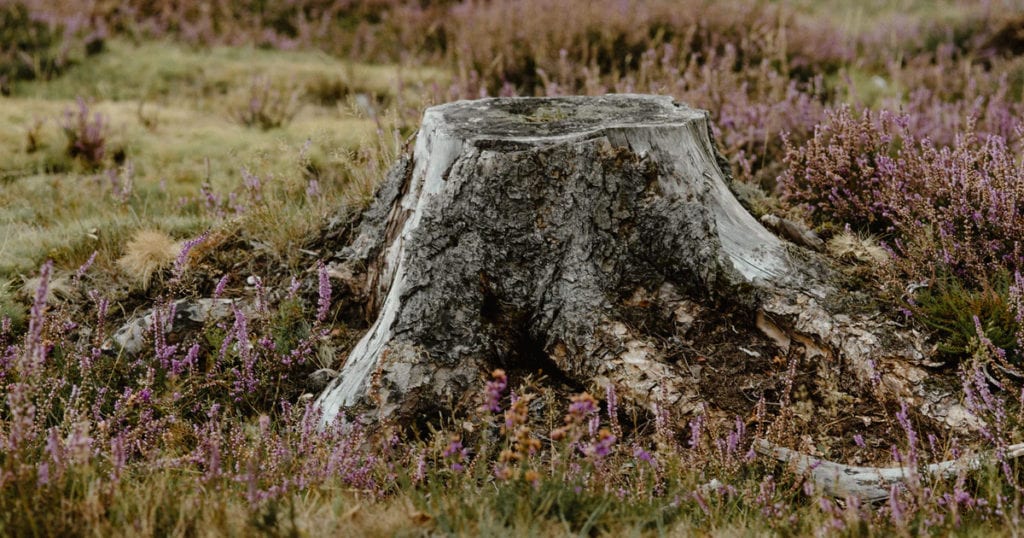
Are you stumped by the prospect of stump grinding in your yard? There are many commonly asked questions that people have when selecting a stump grinder. How big a stump grinder will you need? How much will you have to grind the stump? What will be required for cleaning up afterwards? After all that, is there a way to put the new wood chips to use? That just covers the technical side of stump grinding – there’s the commercial side, too. To ensure quality equipment for a reasonable price, where should you look when hiring a stump grinder? Well, to answer all these questions and more, check out our handy guide to stump grinders below.

How Big is Big Enough?

When you’re dealing with unsightly roots and hard-to-clear tree stumps, you’re likely going to need a stump grinder. Depending on the size of the job, there are a variety of options. For one, you could use a small walk behind unit. Alternately, there are larger stump grinders that work as an attachment on a mini-loader. If you’re totally green when it comes to removing a stump, it can help to talk to the professionals at Master Hire who can help diagnose the right solution for your problem.

Garden Stump in need of Grinding

How Far Should a Stump Be Ground?

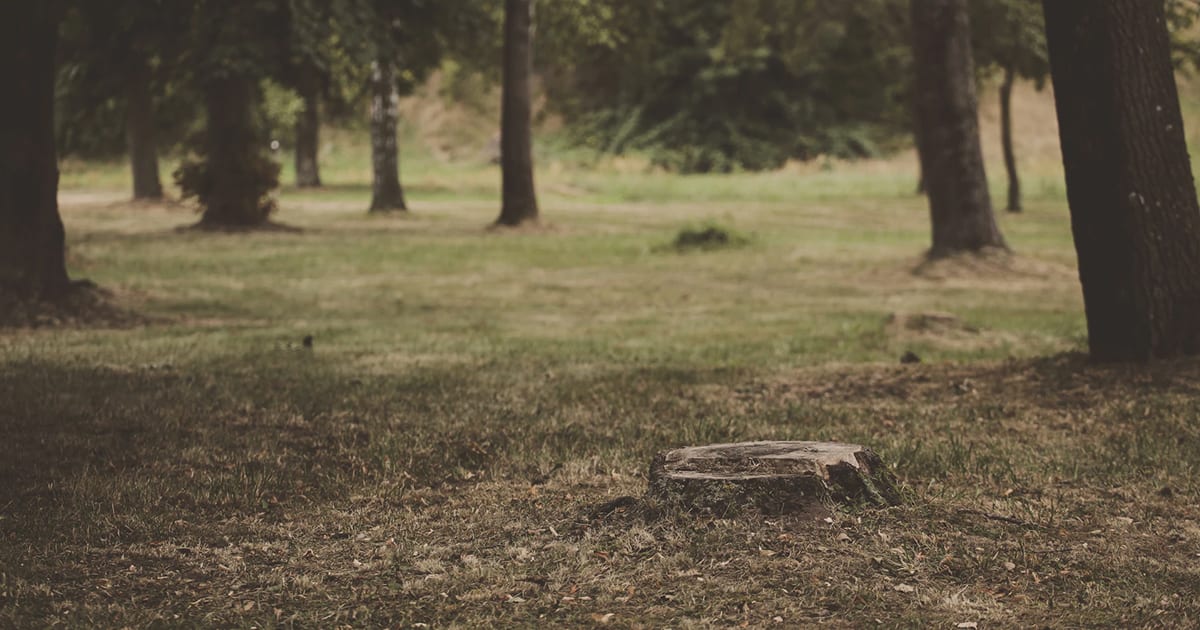
There are limits on how far you can grind a stump down, which will differ depending on where you’re grinding. Generally, you should grind the stump down to a little under the surface level. It makes sense from a technical point of view, too. Any more than that, and you’d need something other than a standard stump grinder to access the roots.

Using a Stump Grinder as an Attachment

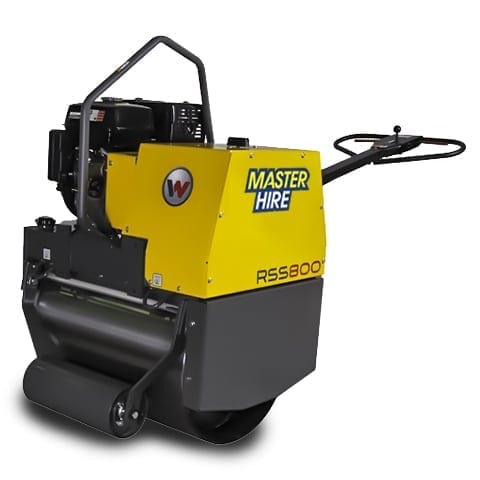
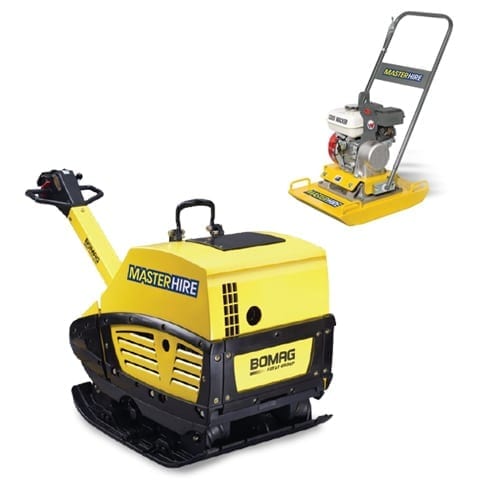
A mini loader, also known as a skid steer loader, is a small, engine powered machine with powerful lift-arms and hydraulic hose connections for various attachments. There are a range of different attachments which can be used with a mini loader to make the job easier, including a stump grinder. Depending on your situation and available room on the site, it might be better to use a stump grinder as an attachment on a mini loader.

Master Hire has a range of mini loaders available for hire: the wheeled mini loader and the tracked mini loader. Bother are perfect for moving and levelling dirt and are both powerful enough to run a stump grinder attachment on stubborn stumps. Master Hire also stock a wide variety of other attachments for the mini loaders, which will fit on a trailer for your convenience. Like all their equipment, they can be picked up or delivered from one of their many branches.

How to Clean Up After Stump Grinding

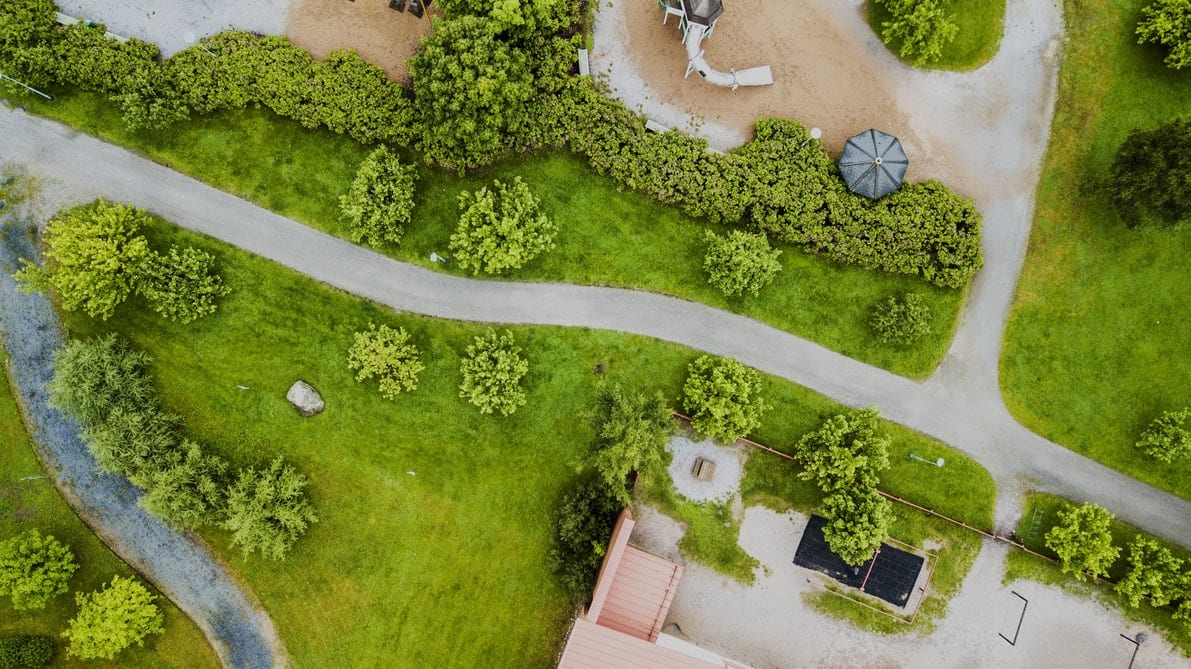
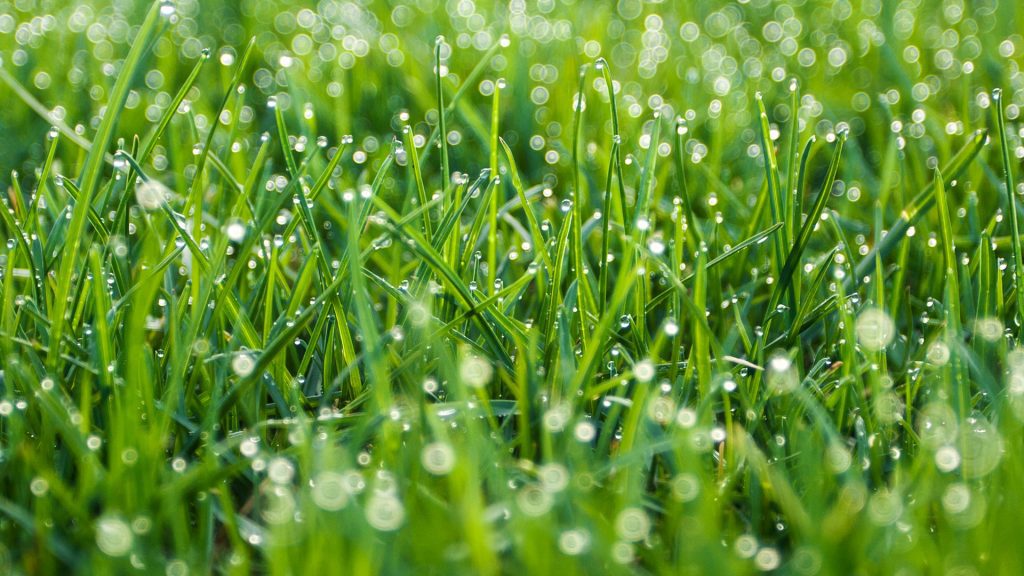
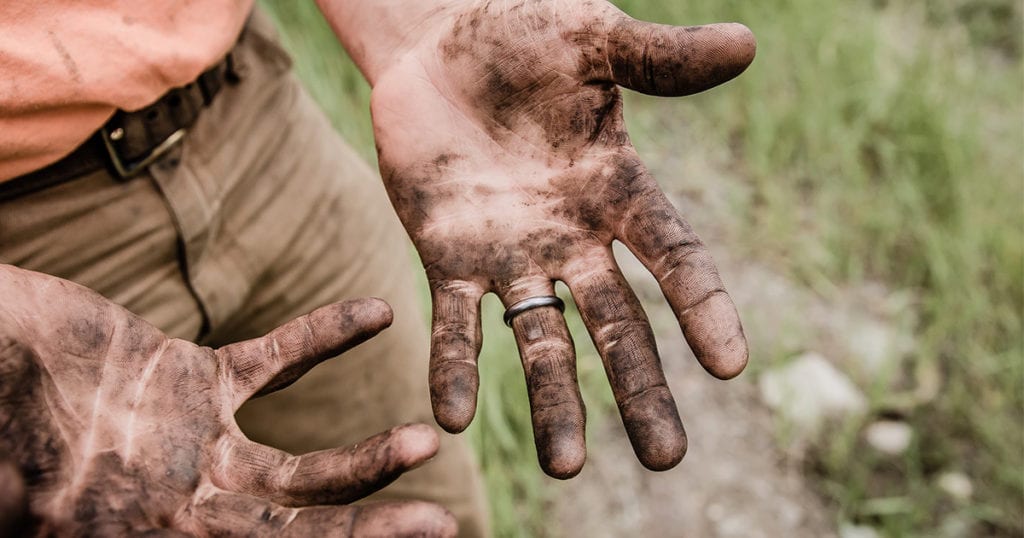
Woodchips can take years to decompose. If you don’t have that long and you don’t want woodchips in the area where you’ve ground the stump, you’re going to have to remove them. Once you’re done grinding the stump, rake away any debris in the area like wood chips, twigs and branches. If you’re planning to cover the area with topsoil and planting something new, pour the soil to slightly higher than ground level; during the planting process it will settle. From there, it’s up to you – you could plant new lawn, shrubs, or even a new tree.

Man with dirty hands

Getting Your Hands on the Right Stump Grinder

Unless you’re planning on using the stump grinder day in day out, the most efficient way of getting your hands on the right stump grinder is to rent one. Master Hire has a range of stump grinders and the all the information you’ll need to use them. Plus, you can hire the stump grinder for only a few hours if need be or even a few weeks. The choice is yours.

Contact Master Hire

Master Hire has a large network of stores that covers much of South East Queensland and the mid north coast of New South Wales. We hire out much more than just stump grinders and mini loaders. We’ve got air tools & compressors, cherry pickers and scissor lifts, equipment for cleaning, compacting, concreting, earthmoving, generating power, lighting, scaffolding, trailers, tipper trucks and more. Master Hire is a family owned and operated company with over twenty-five years of experience and was recently awarded the 2019 Australian Rental Company of the Year by the Hire and Rental Industry Association.

If you’re looking to rent a stump grinder or are searching for another piece of equipment to hire, we’ve got you covered. If you’ve got questions about which piece of equipment is best for the job at hand, or about how to best use it, Master Hire will look after you. Get in touch today by sending us an email or call 1300 107 107.

Posted on

Top 4 Father’s Day Gifts

Father and child holding hands on the beach

(as voted by Dads) – We have taken the liberty of asking Dads the hard question. We even managed to extract an answer out of them! We surveyed dads and asked the question:

“What do you want for Father’s Day?”

See our top 4 Father’s Day requests below.

4. Socks & Jocks

Ahhh the ol’ “Socks ‘n’ Jocks”! Just be clear, our Dads answered the question, “What do you want for Father’s Day?” – not “What do you think you’re getting for Father’s Day?” Regardless, our survey results have shown and that the old socks and jocks have still found favour with Dads.

Man pulling on black Boots

3. Tools

Maybe all of Dad’s tools have gone missing! Maybe he just wants a new shiny toolbox… Whatever the reason may be, tools are on our Dads wish-list this Father’s Day. At Master Hire we have a range of big tools for Dad – see our Big Toys (earth moving) section here.

Tools
Tools

2. Gift Cards

“Its more than a card”  This is a gift card! It could be anything!”
Dads have no doubt been watching too much TV. Our survey has shown that they want a gift card for Father’s Day. The good thing is, there are a lot of stores offering gift cards and vouchers, including Master Hire!

1. Nothing – “Just Time with Family”

“Ummmm… ahhhh nothing…”  was the common response followed by “Just time with the family… -spend some time with my kid/s.” Our Dads really just want to spend time with their families. If you already have something for Dad, make sure to give him some quality time this Father’s Day!

Two Kids with Dad

“Have a great Father’s Day!”
From Master Hire

Posted on

How to compact sand, dirt and crusher dust in preparation for pavers

Crusher Dust, gravel and grass

A large heavy plate compactor is often used to compress different types of soils and gravel. These units have a large motor mounted on top of the plate that is used to vibrate the plate. Compaction is one of the most important steps in any construction project. It provides the stability needed to properly support structures, roads and paths. Therefore it is critical that you match the right type of compaction equipment with your project.

Important things you need to know before starting your compaction project are:

  • What is the size of the area to be compacted?
  • What is the compaction rate required (if known)?
  • What type of soil is needed to be compacted?
  • What type of finish do you require after compaction?

How to best compact soil

Plate compactors are best suited to the compaction of bituminous and granular materials e.g. granular soils, gravels and sands or mixtures of both. Cohesive soils such as silt and clay are best compacted using the impact force produced by an upright rammer.

There are generally two types of soil when it comes to compacting, granular soils and cohesive soils. Here are the main differences between the two.

Granular Soils

These are soils like gravel and sand and very difficult to compact regardless if they’re wet or dry. They tend to crumble when picked up and have limited cohesive strength.

Cohesive soils

These soils typically have high clay content and hold together firmly. They need to contain a certain amount of moisture to help ensure proper compaction. Each soil will need a different type of compactor to efficiently compact the soil.

Small Compaction Plate

How to compact sand for paving

Specifically compacting sand is tricky due to its granular composition. For this reason, when you are preparing your bed for pavers, it’s critical you compact the bottom layer of dirt/soil, gravel or crusher dust before you put down a layer of sand for your pavers.

Before you start compacting your soil for pavers, make sure the surface you’re compacting is level and the soil is evenly spread. You can use a mini loader, larger tracked loader, with spreader bars, or simply a hand held lawn lever to spread the soil evenly across your surface. Secondly wet it. Ensure the moisture content in the soil is correct. Moisture in your soil is vital to achieving proper compaction as the water helps slide soil particles together. Not enough moisture might lead to inadequate compaction; too much moisture will leave water-filled voids that weaken the soil’s load-bearing ability.

How to compact crusher dust

Crusher dust is a blend of small crushed blue metal rocks and finer dust. Typically used in roads surfacing and as driveways, it can also provide a great foundation for tanks. We recommend you use a mini loader with a bucket to move large amounts of crusher dust around your job site. If you have the option, use a levelling bar attachment to quickly and evenly spread the material around. Again wet it. Wetting the crusher dust not only reduces the amount of dust in the air but also allows for a firmer compaction rate. Once you given it a good soaking use a vibrating plate to further compact the partials together (depending on the area you are compacting you may need a larger machine, even consider hiring a smooth drum roller). You will need to go over the same area multiple times to achieve your desired level of compaction.

Compacting pavers after laying

Once you have laid your pavers neatly on top of your compacted material, whether it is sand or crusher dust, we recommend you go over the top of your pavers once more with a small compaction plate. To prevent damage to your pavers, use a piece of rubber or use a compaction plate with a heavy duty rubber mat attached to the bottom. Running the compaction plate across the top of your pavers will help solidify your hard work. This will send vibrations down through the pavers into the ground beneath working them into a firm foundation.

Tips for how to use a plate compactor

Here are some safety and efficiency tips to help you get your job done safely:

  • Wear the correct personal noise protection.
  • Run the engine warm in idle speed for a short while before starting work.
  • Do not shut the engine down all of the sudden from full speed, but let it idle for a while for temperature equalisation.
  • Always maintain good footing so that you do not slip and loose control when starting or operating the machine.
  • Clean the underside of the plate regularly to prevent a build up of material. this will allow your machine to move freely.

Can you use a wacker plate on grass?

You can use a plate compactor on grass to compact the soil underneath it. However, it’s important to be aware that the compactor may damage the root system of the grass. This is because compacted soil doesn’t allow water or oxygen to efficiently reach the roots, which can result in stunted growth or even death of the grass. Therefore, it’s important to think carefully about why you need to compact over the grass rather than removing it entirely.

If you do decide to use a plate compactor on grass, there are a few things to keep in mind. Make sure you are not confusing the need to compact grass with a water-filled roller after it has been freshly laid. To clarify further, a water-filled roller is designed to apply gentle pressure to the grass without damaging the root system. On the other hand, a plate compactor is designed to apply much greater pressure and vibration to the soil, which can easily damage the roots and stunt the growth of the grass.

Types of Compactors

It is very important to know what type of machine you require before starting your project. All three examples of small compaction equipment listed below may be referred to by different names.

Upright Rammers

Upright Rammer

Also known as wacker packers or jumping jacks, upright rammers work great when compacting cohesive soils because of the size of the plate. The smaller plate size allows for a more focused and direct compaction. They are also great for trenches and tight spots where compactors aren’t easy to manoeuvre. They have the ability to compact a deeper amount of soil than a plate compactor.

Pedestrian Rollers

Master Hire Large Pedestrian Roller

Also known as walk behind rollers, these rollers are perfect for cohesive soils such as silt or clay. They are commonly used for road base or crusher dust which forms a layer below pavements, driveways and parking spaces. They are more suited for larger areas and when more compaction is required. An advantage of using a pedestrian or walk behind roller is that they give greater compaction and travel faster along the ground, therefore, they can complete a large work area faster.

Plate Compactors

Vibrating Plates

Plate compactors, also known as vibrating plates, are ideal when working with granular soils because they use vibrations to help settle the soil as it compacts. Compactor plates are wider than an upright rammer, which means that its weight and compaction force is spread out over a greater area. Because of their ergonomic design and operating procedure, plate compactors are better for larger, flat surfaces and leave a smoother finish.

In Summary, upright rammers are used for a more direct and focused compaction on cohesive soils. Mainly used in trenches, around pipes/manholes and in areas where other compactors won’t fit. Vibrating plates are used for a more evenly spread compaction on granular soils. Mainly used for bedding sand and road base where an even surface is required. Pedestrian rollers are best used on cohesive soils for larger projects like driveways, where the size, speed and compaction rate of the machine are an advantage.

Master Hire has all three of these small compaction machines available for hire and more information or for hire rates, contact us on 1300 107 107.

Posted on

Master Hire Awarded 2019 Rental Company of the Year

2019 Rental Company of the Year

In early 2019, Master Hire was once again nominated for the Australian Hire and Rental Industry Association’s (HRIA) ‘Rental Company of the Year’. This year, we decided to accept this nomination and complete the formal judging process and compete against other hire companies from across Australia for the coveted title. The process required us to submit a formal presentation to the Hire and Rental Industry Association about our business covering a range of topics from our history and structure through to our achievements and future growth plans. With the help of a number of our team at Master Hire, we delivered a first class written submission to the Association which ultimately led to Master Hire being named a finalist in this year’s awards. As a finalist, we were eligible for a branch site visit by the judges in the following weeks.

Master Hire Awarded 2019 Rental Company of the Year

Two independent judges visited the finalists around Australia at their nominated hire locations. Master Hire had to choose only one of our eight branches to be judged and we decided on Rocklea. Our Rocklea store, located at 679 Beaudesert Road, is very well presented, with great road frontage, a huge range of equipment and convenient access for our customers. After some minor updates, including painting, gardening and re-positioning our equipment displays, we were ready for the judges. Our Rocklea store remained fully operational during the process and this is testament to the great management and organisational skills of the team.

Master Hire Team Awarded 2019 Rental Company of the Year

Whilst on site, our local Rocklea managers gave the judges a tour of the branch and introduced them to our team who each play an important role in serving our customers including the pre-hire of our equipment, deliveries and pickups, maintaining our equipment and of course speaking with our customers. After the day of judging, it became a waiting game until the Hire and Rental Convention Awards Night on 23rdMay. We were pleased to be able to send a number of Master Hire team members to the two day hire convention and awards dinner in Melbourne. During the evening, a number of industry awards were presented to various hire companies and equipment suppliers, but the Hire Company of the Year award was the final one to be announced on the night. The National President of the Hire and Rental Industry Association read out ‘Master Hire’ as the major award winner for 2019 which was met with a huge cheer from the crowd. Our two company Directors accepted the Hire Company of the Year Award on stage on behalf of Master Hire team and paid tribute to each and every team member at Master Hire for their contribution to the success of our business and thanked our customers who continue to choose Master Hire as their preferred hire company.

We are very excited and at the same time very humbled to be awarded the HRIA Hire Company of the Year for 2019 and wish to thank everyone involved in making this happen.

Posted on

How to get amazing timber floors yourself

Floor Sander

There is almost nothing more pleasing than walking into a house with beautifully polished timber floors. The natural character of the exposed timber adds warmth and personality to the house.

Sanding floors can be a daunting job, but it doesn’t need to be. It can be extremely rewarding when you stand back and enjoy your finished DIY project.

The following steps are a how-to guide with some tips and techniques to get the timber finish you want in your house.

Make sure that you allow enough time to do the job and have everything you need to be organised before you start. Depending on what finish you want, it will be worth talking to your local hardware or paint store about the right product to use and drying times.

Hire a drum floor sander and floor edger with Master Hire, (we can also supply the sandpaper for each machine).

Ensure you read and understand the instructions of each sander carefully before you begin as these may vary from model to model. Ensure the area you will be sanding is well ventilated as the machines will create a lot of dust (open windows or use fans). Ensure power leads are out of the way so they don’t become a trip hazard or are run over by the sander. As these machines draw a lot of power, ensure the extension leads you are using are suitable so not to cause machine burn out. We recommend lengths no longer than 20m.

Ensure you use all the correct PPE including dust masks, safety glasses and earplugs – your health and safety is paramount.

    • Preparation – Remove everything out of the room including all furniture and even curtains… it is going to get very dusty. Remove any floor coverings and ensure that any staples or screws are removed and nails are punched down or removed. These are a killer for sandpaper as they will shred a sanding sheet in seconds. Fill any gaps and repair the floor as required. Remove the skirting boards to ensure you sand right to the edge of the timber. It is important to take time and effort in the preparation phase as you don’t want to have to come back and redo this.
    • Using the drum sander – Start with a medium grit sandpaper (e.g. 60/80 grit) and ensure it is fitted tightly on the drum facing the correct direction. Do a small area and see how your floor responds to it. You may find that you need to use a more coarse grade on the floor to begin with. If you floor isn’t flat, sand at a 45-degree angle in the direction of the floor boards. Overlap each run so that each is blended into the next. As you near the end of the pass, gradually lift the drum off the floor before you come to a stop. Practice this so you don’t end up with hollows at the end of your floor boards. Once you have the floor evenly sanded with this coarse grade, change the paper to a finer grade and continue to sand along the grain.
    • Using the floor edger – Ensure the sandpaper disc and locking bolt is secured tightly on the machine before you begin. Sand along the grain of the timber smoothly to reduce the chance of putting divots in the floor. Use the same grade paper as you used with the drum sander to ensure you end up with the same finish.

If your floor boards have already been polished, if possible find out what product has been used previously. Typically, it’s either a wax or an oil finish, or possibly a polyurethane varnish. When buying your new polish (vanish), ensure you find a product that’s right for the type of floor boards you have. If in doubt, ask your local hardware or paint store for advice when choosing a product.

Test a small area before polishing your floor boards

Before you dive straight into polishing the entire area, test a small section first, preferably underneath a piece of furniture or in a corner. If the polish damages the floor boards or creates a discolouration, stop and check you are using the right product for your floor boards. Once you have confirmed that your polish is the correct one to use, it’s time to start covering the entire area. This is a very satisfying process and you will quickly see your floor boards spring to life with a rich vibrant finish.

Allow the polish to dry completely before walking on it

Read the product manufacturer’s instructions carefully before you begin your project. After applying the first layer of product to your floor boards, allow it to completely dry before apply more layers. Keep in mind that different products may have difference drying times and these will be indicated on the product label. Try not to walk on the newly polished floor for at least 24 hours, as it may be sticky and leave marks on the surface. Once the area is dry enough to walk on, we recommend waiting another 24 hours before putting any furniture or rugs back on the area.

If you would like to know more about sanding your timber floors or if you have any questions about our range of floor sanders and other equipment, call Master Hire on 1300 107 107 to talk to one of our friendly team members.