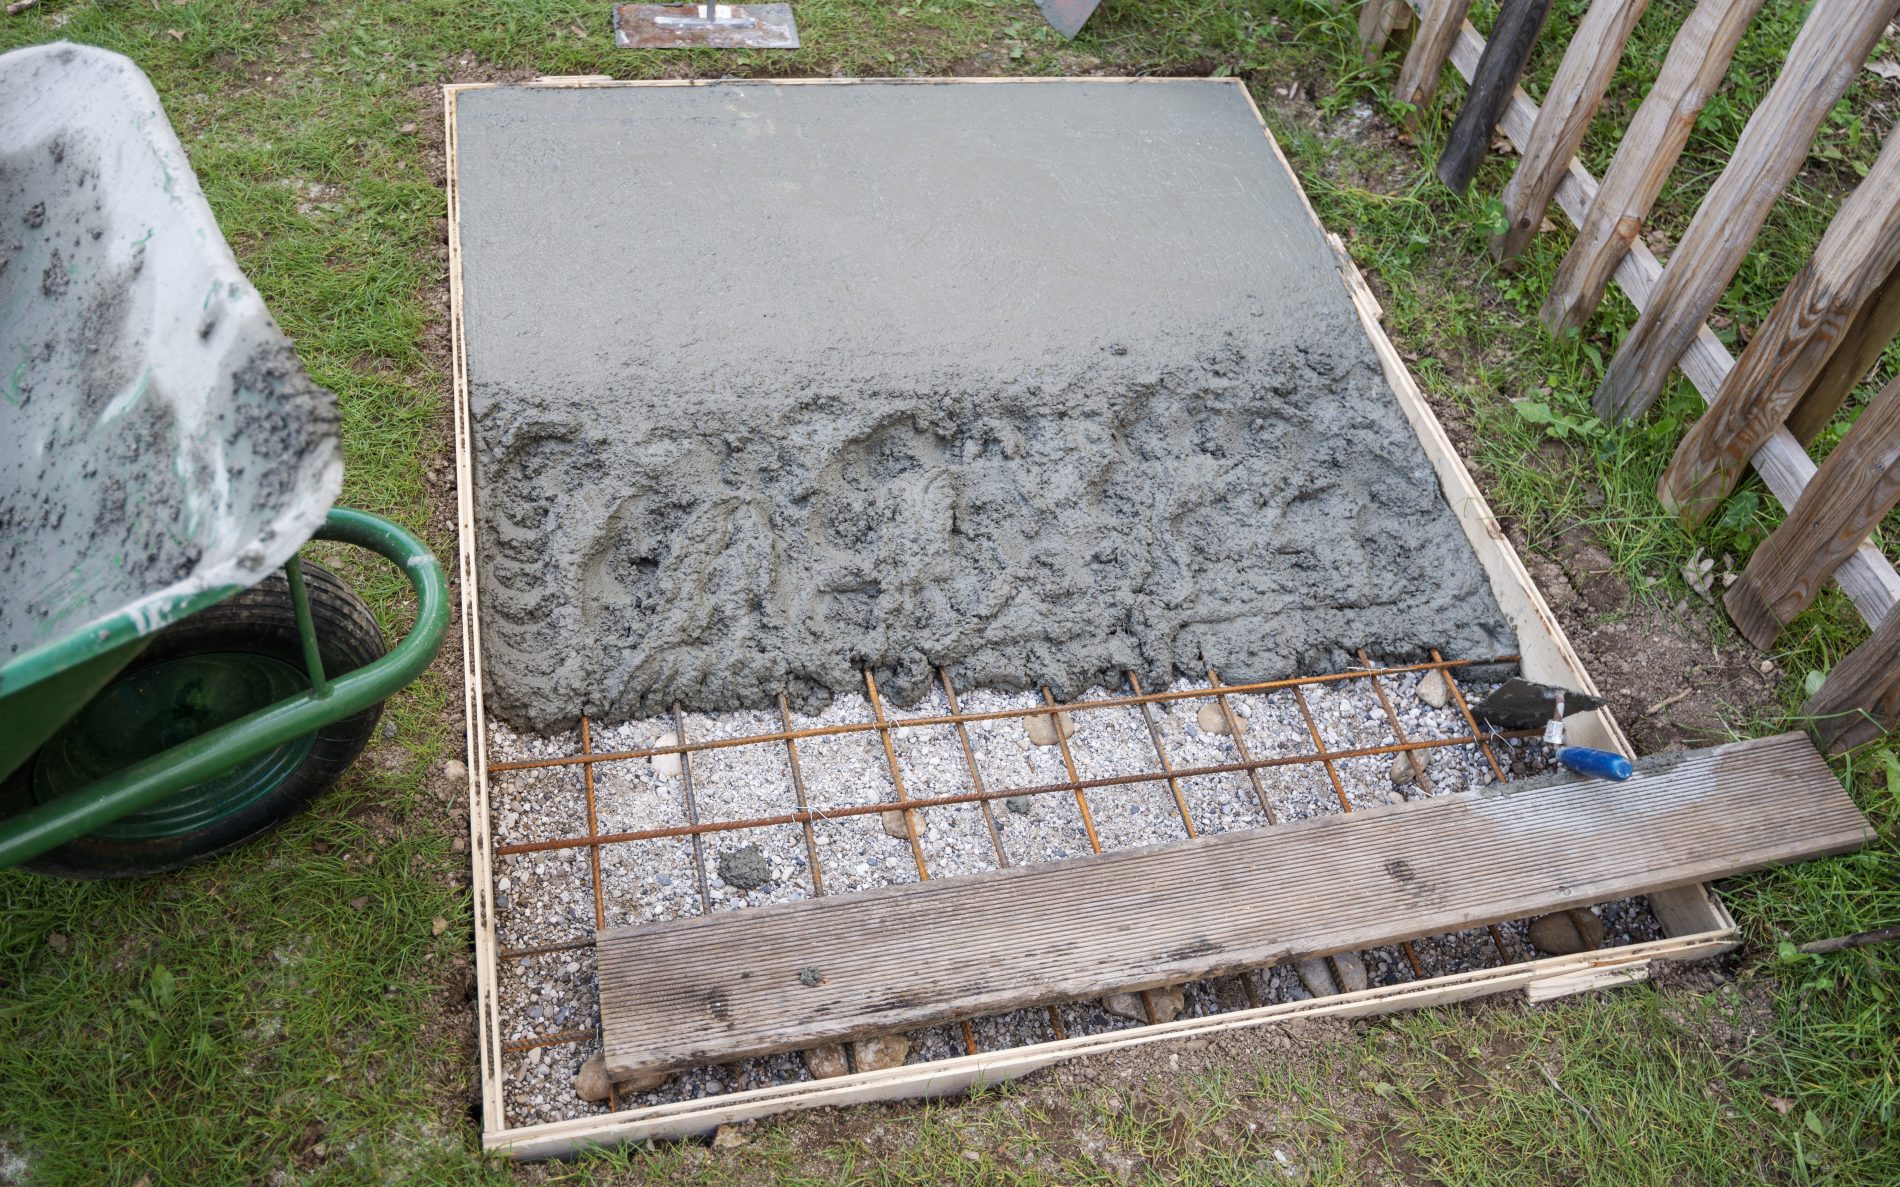
This article covers a number of things to consider before you dig a shed slab, concrete path or any concrete slab. Depending on whether you want your concrete slab to sit above the ground or level with the ground, you could get away with simply boxing above ground level. However, if you plan on having your shed slab sit below or level with the ground you will need to dig a cut out or box. When digging or excavating a hole for your slab, here are some important items to consider:
- Location: Make sure you pick a location that is level and has good drainage
- Dimensions: Determine the size of the slab based on the size required for the shed
- Soil preparation: Prepare the soil by compacting it and adding a layer of crusher dust
- Reinforcement: Add rebar or wire mesh to the slab to increase strength
- How much concrete: Ensure you order the right amount and have appropriate place to dispose any left over
- Curing time: Allow the concrete to cure for at least 28 days before building on it
Excavation can be done by hand, dug by contractors, or done by yourself with a machine. The most common machines to do this job are Mini loaders and Excavators. Each of them have pros and cons.
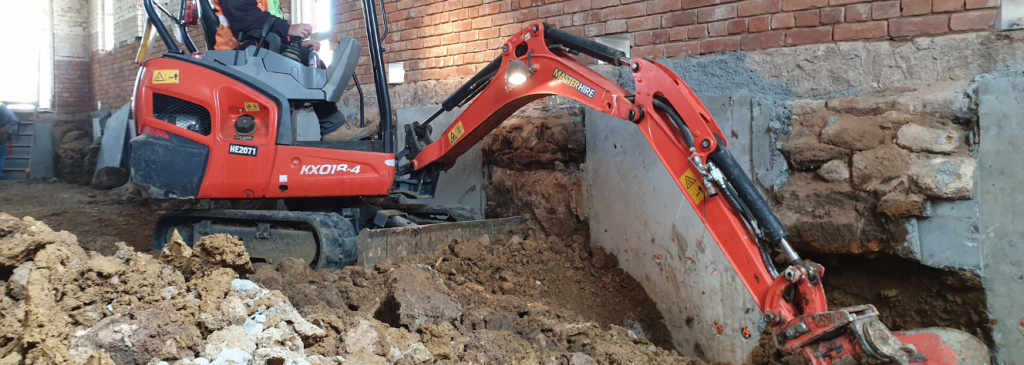
Should I use a Mini Excavator or Mini Loader?
Digging down vertically with an excavator is much easier. The force that can be applied vertically is much greater than what is possible with a mini loader. Excavators typically have more vertical digging power than loaders because of the way the buckets and hydraulics are designed. These wheeled or tracked loaders are designed primarily for moving material horizontally, such as pushing or shifting dirt and their hydraulic system and buckets are optimised for lifting and carrying rather than digging.
A mini excavator is generally better than a mini loader because it is specifically designed for excavation work, with a hydraulic system that provides greater digging power and precision. The excavator’s boom, arm, and bucket are designed to dig into the ground and remove material efficiently, which makes it ideal for digging holes or trenches, or pits.
In contrast, a mini loader is primarily designed for material handling and transportation, such as moving, scraping or pushing dirt or gravel from one location to another. While a mini loader can be equipped with an attachment like an auger to drill holes, it may not be as efficient or precise as a mini excavator in terms of digging depth and accuracy.
Digging down with a mini loaders can be hard for the machine depending on how heavy the loader is. Because we are talking about machines that weigh roughly 900kg to 1200kg you will often find the bucket will just scrap along the surface, particularly if the ground surface is compacted and hard. Tools like rippers, do a great job of breaking up the compacted soil to allow the wider buckets to push through and collect loose soil. Master Hire has ripper attachments for mini loaders and mini excavators. Mini excavator buckets typically have teeth on each of the trenching buckets. These teeth act as rippers and are designed to pierce through the tough compacted layers of dirt and break it up making it much easier to dig.
How do I prepare the ground for a shed slab?
Preparing the ground for a shed slab requires careful planning and attention to detail. The first step is to clear the area of any debris or obstacles, such as plants, rocks, or other obstructions. work out how deep you need to dig down for your slab, this will include the thickness of your concrete plus an appropriate extra amount of depth for any crusher dust or gravel. It’s important to level the ground to ensure a uniform thickness for the concrete slab. This can be done using a shovel, rake, and/or a laser level to ensure the ground is level and smooth.
Earthmoving tools can make the job of preparing the ground for a shed slab easier and more efficient. For example, a mini excavator can be used to clear the area of debris and level the ground, which is faster and more precise than doing it manually with a shovel and rake. They can also dig a trench for the foundation and remove any roots or large rocks that may be in the way. This can be especially useful if the ground is uneven or has a lot of obstacles, as it can save time and effort compared to doing it by hand.
How thick should a garden shed slab be?
If the shed is relatively small and light, a 4-inch-thick concrete slab should be sufficient. As a general rule, a thickness of around 100mm (4 inches) is recommended for most applications. The thinner you make your concrete the more you save but it becomes brittle and for this reason you should go not below 50mm (2 inches) thick.
How deep should you dig before pouring concrete slab? A typical garden shed slab is 100mm thick and we recommend at least 50mm of crusher dust under your concrete which brings it to a total of 150mm deep.
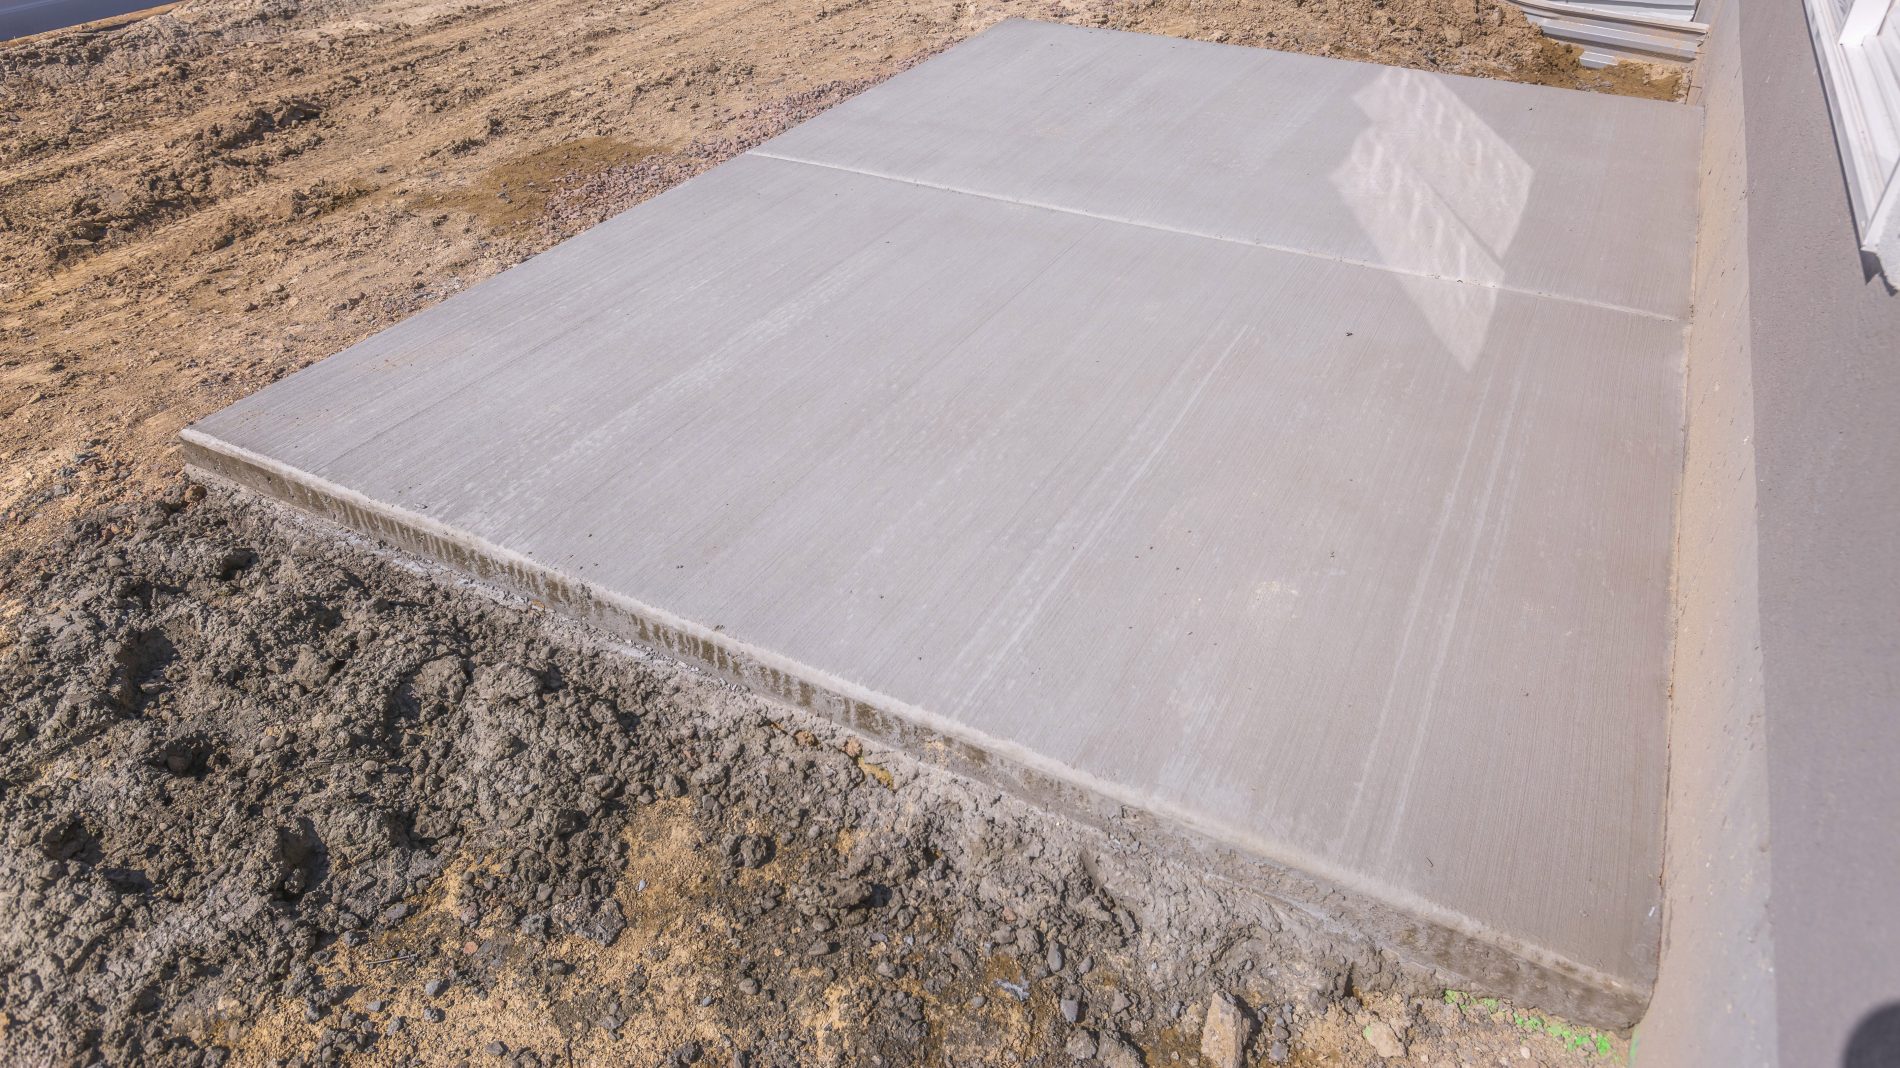
How thick does concrete need to be to not crack?
As a general rule, a thickness of around 100mm (4 inches) is recommended for most applications. The thinner you make your concrete the more brittle it becomes for this reason you should go not below 50mm (2 inches) thickness. Thicker concrete is also more prone to cracking and it is recommended you don’t go over 125mm. It’s also important to ensure that the slab is properly reinforced with steel rebar or wire mesh to increase its strength and durability.
Do I need gravel under concrete slab?
In general, it’s recommended to place a layer of gravel or crushed stone underneath a concrete slab to provide a stable base and improve drainage. The gravel should be compacted to ensure that it is solid and does not shift or settle over time. This layer of gravel helps prevent water from pooling beneath the concrete, which can cause issues such as erosion, cracking, or heaving. The gravel layer also helps to distribute the weight of the concrete more evenly, reducing the risk of settling or cracking. In summary, while it’s possible to pour concrete directly onto soil or sand, using a layer of compacted gravel can provide a stronger, more stable foundation that promotes better drainage and helps prevent potential issues down the road.
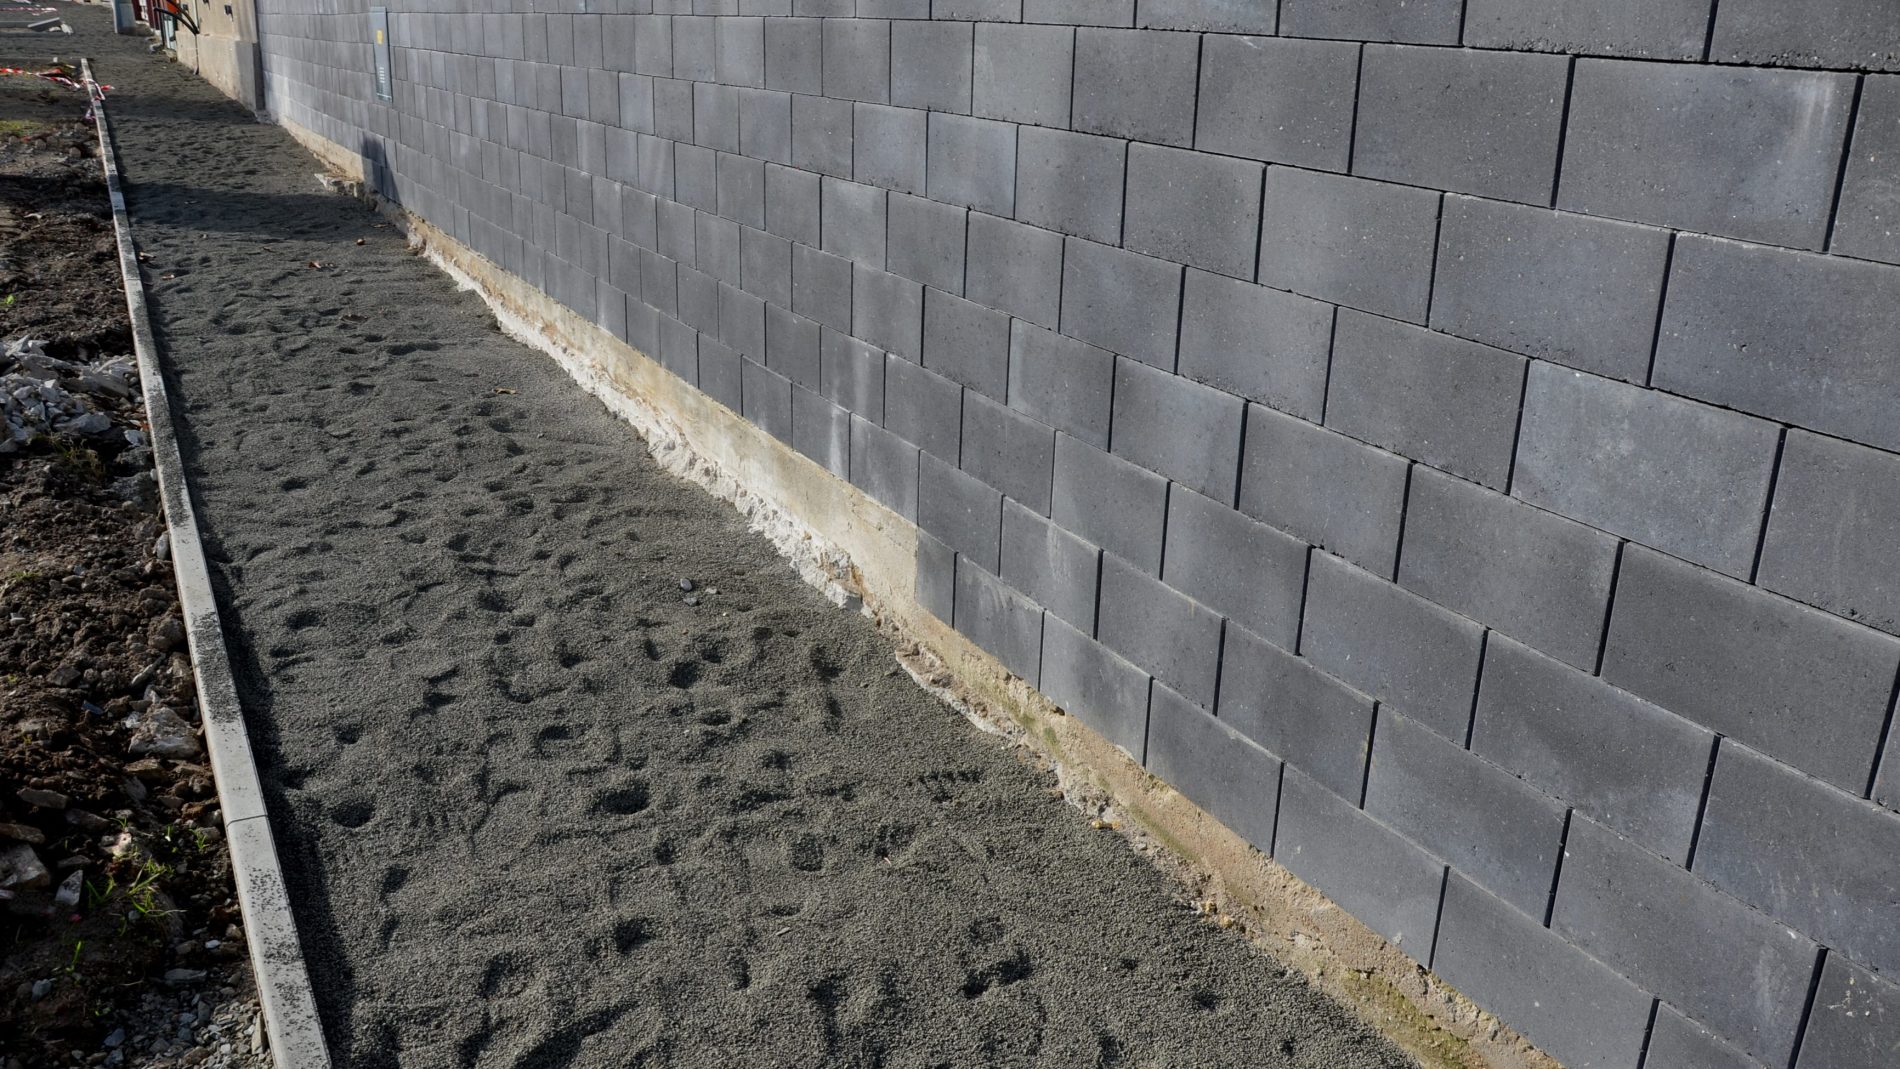
How much gravel is needed under a concrete slab?
The amount of gravel needed for a concrete slab depends on the dimensions of the slab and the thickness of the gravel layer used. Typically, a gravel layer between 2 and 4 inches (50mm – 100mm) thick is recommended for a concrete slab. You can pour concrete directly onto dirt however, its not recommended as soil can move, swell and crack with moisture content. Over time this can collect moisture underneath and cause the slab to crack. Proper preparation of the ground is necessary to ensure the stability and longevity of the slab.
It’s important to make sure your concrete is level
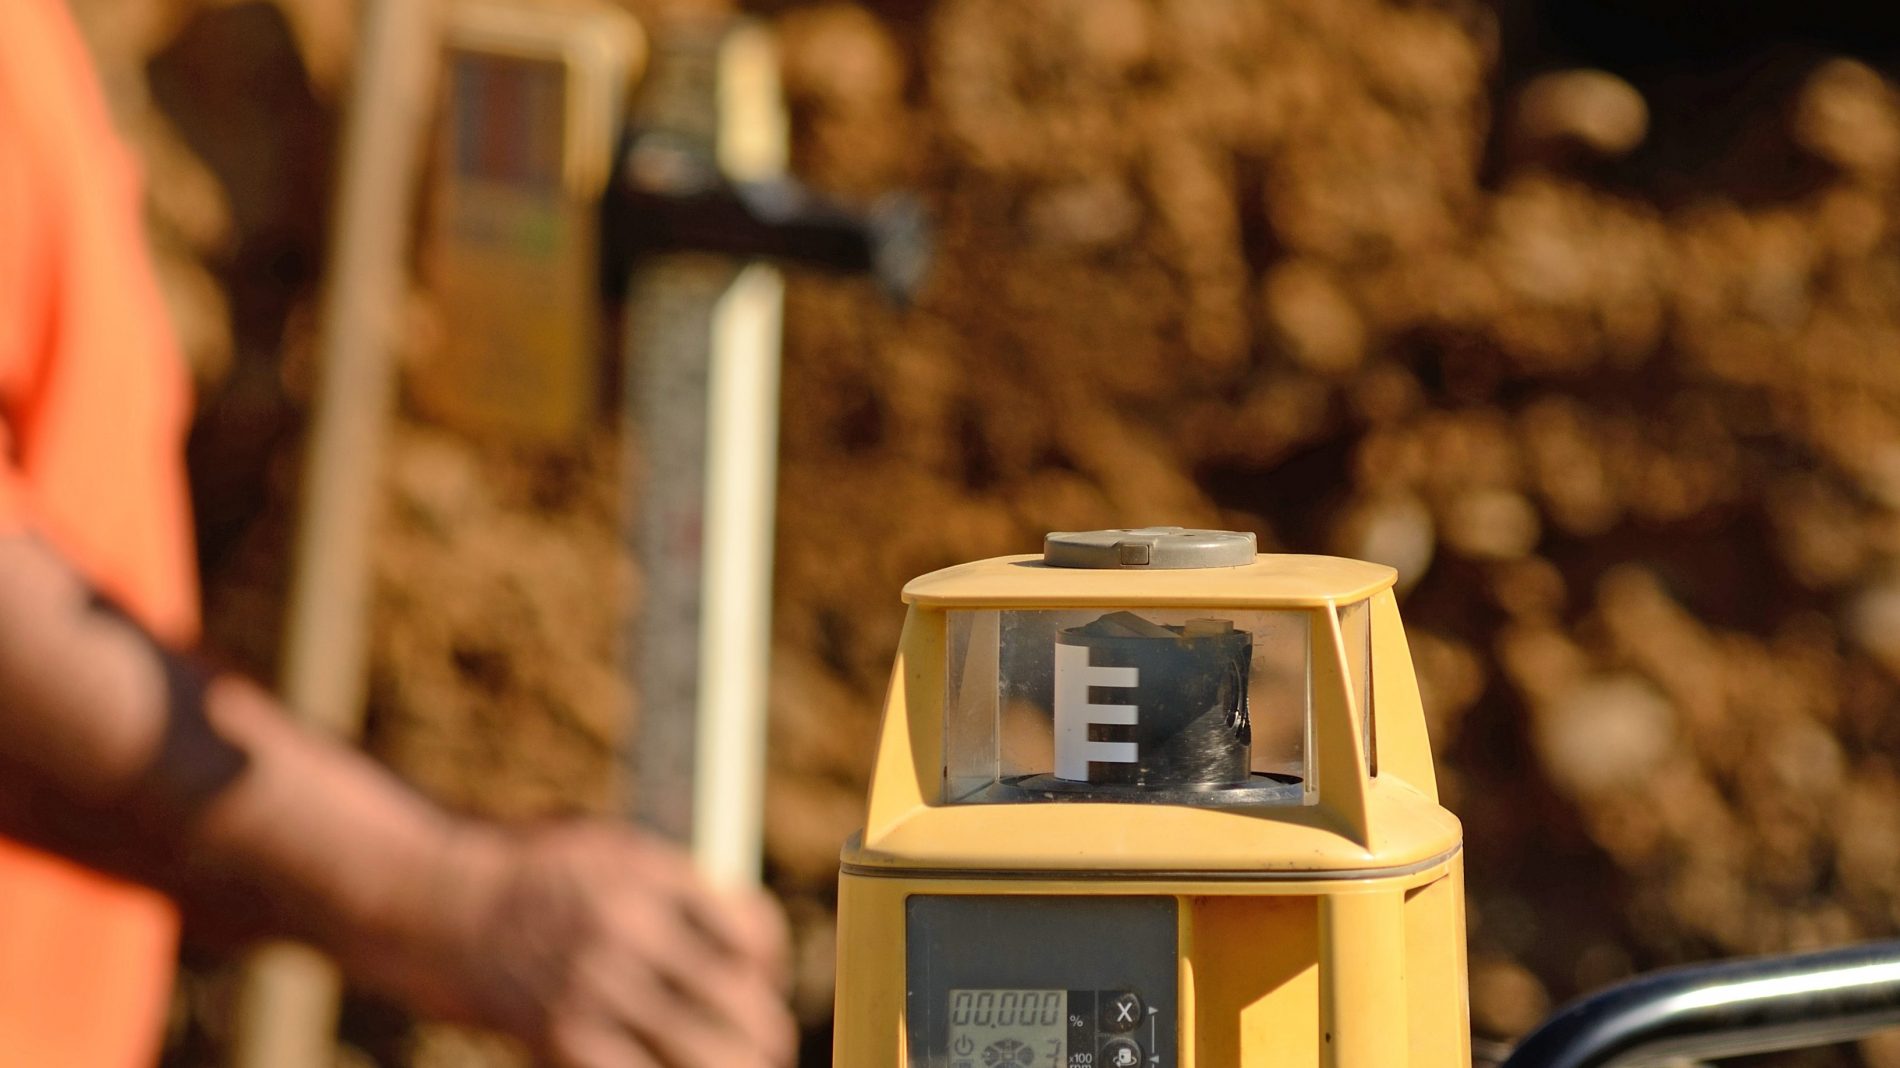
It’s important to ensure the slab you are about to pour is level and it can be tricky to work out how level you have dug your shed slab. Using a laser level or a DIY water level will help ensure that the majority of your cut out is level and in turn the thickness of your slab remains consistent everywhere.
You can use a level to make sure each corner is at least 150mm deep, and then measure different points all over the slab you have a consistent depth of 150mm throughout (100mm thick slab with 50mm of crusher dust). At points where you are too deep you can use crusher dust to fill in those gaps, but high spots can leave the concrete too thin and should be taken down to match that level. It’s recommended you compact crusher dust and soil before pouring concrete, so you don’t create voids under your slab.
How do I work out exactly how much concrete I need to order?
Work out the dimensions of the slab by measuring the length, width, and thickness of the slab in meters. Convert the dimensions to cubic meters by multiplying the length and width, and then by how thick the slab needs to be. For example, if your slab is 3 meters long, 2.5 meters wide, and 100 millimetres (0.1 meters) thick, the calculation would be: 3m x 2.5m x 0.1m = 0.75m3 (cubic meters).
We recommend consulting a concrete supplier who can provide a more accurate estimate based on the specific mix and delivery requirements. They may have minimum cubic metre order amount and you should have a plan of what to do with left over concrete as they often charge to take excess wet concrete away.
How long should a slab sit before building on it?
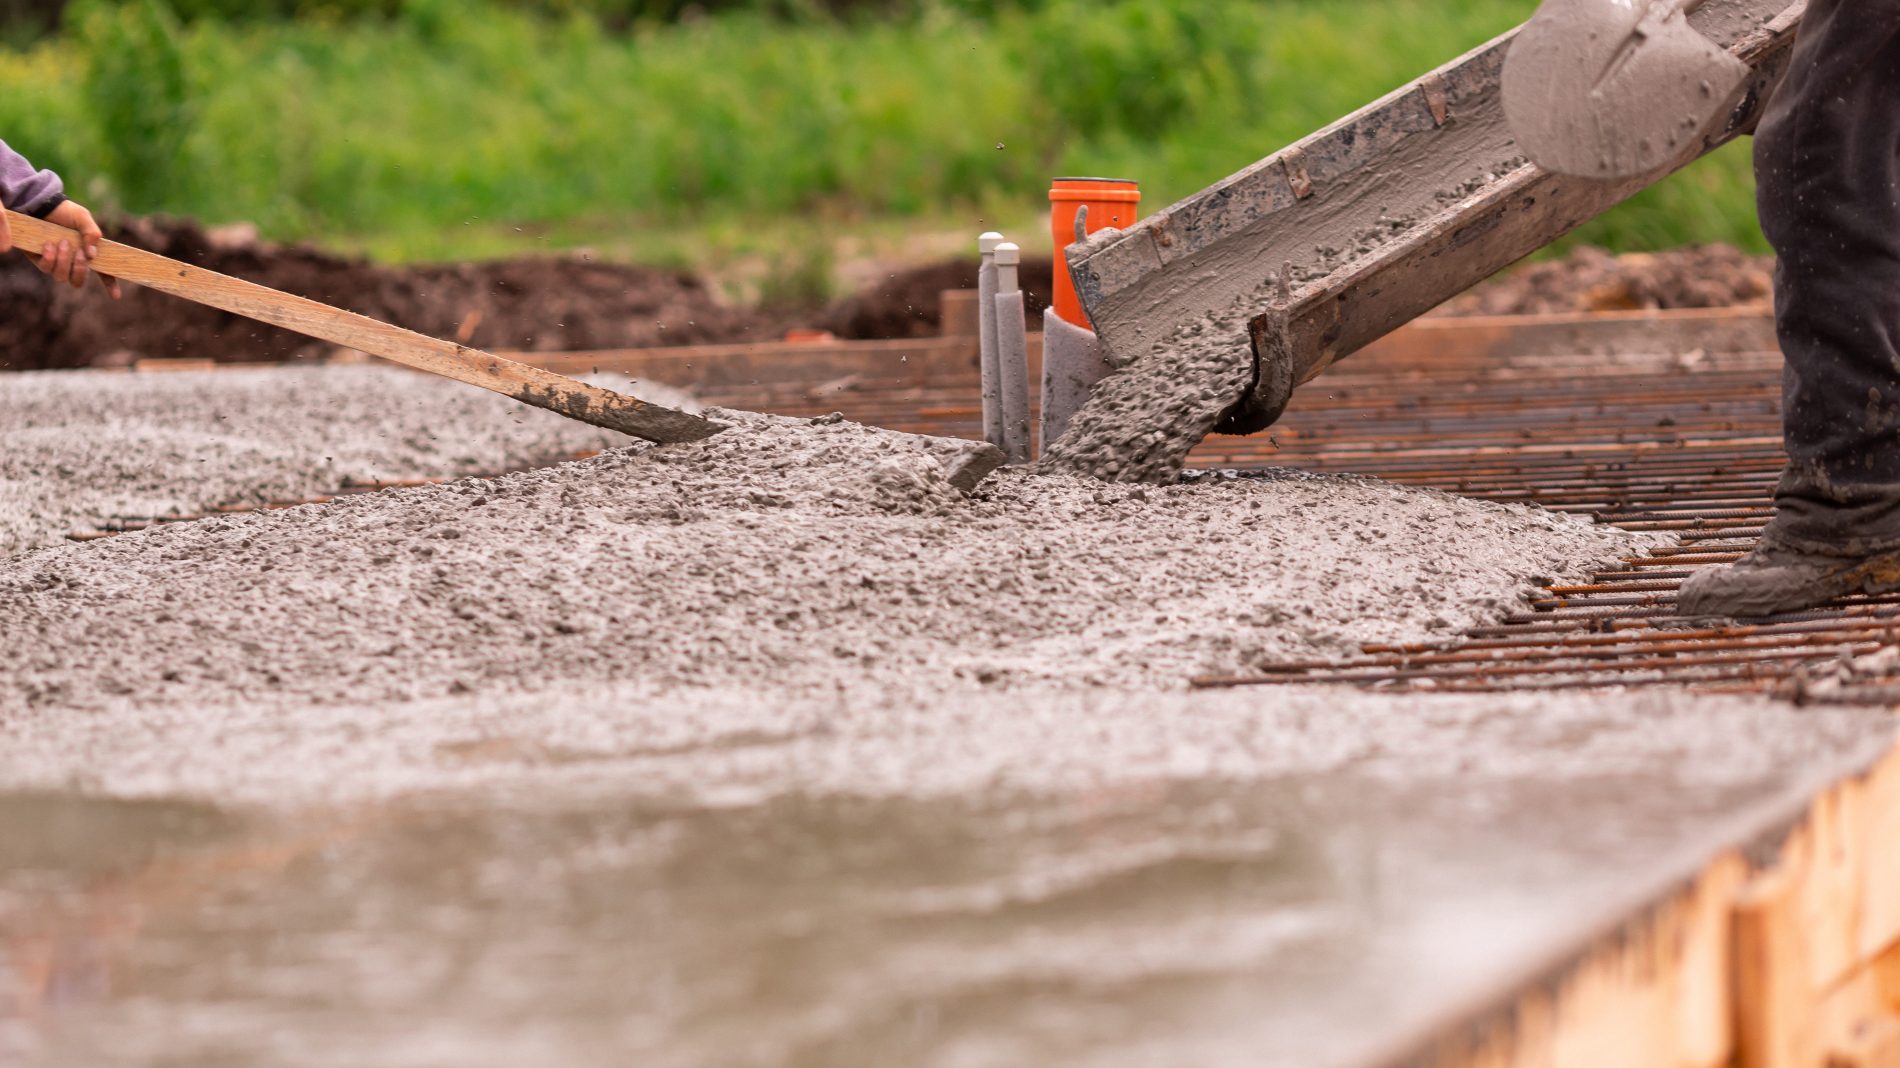
Curing is a critical process for concrete slabs that involves maintaining an optimal moisture level and temperature to ensure that the concrete sets properly. While the 28-day curing period is a general guideline, the actual curing time can vary depending on factors such as the type of concrete, the thickness of the slab, and the weather conditions.
The temperature and humidity during the curing process can significantly impact the rate at which concrete sets. If the weather is hot and dry when you pour your slab, the concrete can set too quickly, which can cause cracking. On the other hand, cold or wet weather can delay this curing process. That’s why it’s important to avoid any heavy loads or structures on the slab during the curing process to prevent any damage or weakening of the concrete.
Concrete that has not fully set is often referred to as green concrete. Not to be confused with Eco friendly green concrete. Concrete that is produced using eco-friendly materials and practices is also sometimes called green concrete or “environmentally friendly concrete” or “sustainable concrete.”
Choose Master Hire for all your earthmoving hire requirements
At Master Hire, we understand that every project is different, that’s why we have a wide range of earthmoving equipment available to suit all your needs. Our team of experts is always on hand to provide advice and guidance on which machine will be best for your project, so you can get the job done quickly and efficiently.
